http://moominsean.blogspot.com/2010/12/reclaimed-fuji-intant-negs.html
http://moominsean.blogspot.com/2010/12/reclaimed-fuji-intant-negs.html
another good tutorial is here..
http://snapitseeit.com/how-to-bleaching-fp-100c-neagatives/
and here is another ;
/http://www.filmsnotdead.com/2014/06/24/how-to-make-negatives-from-instant-fujifilm-fp-100c/
one other
http://www.filmwasters.com/forum/index.php?topic=5335.0
I am assuming you have tried this or have some idea of what can go wrong. Look at some other longer descriptions before you try it with a print/negative you care about...
 |
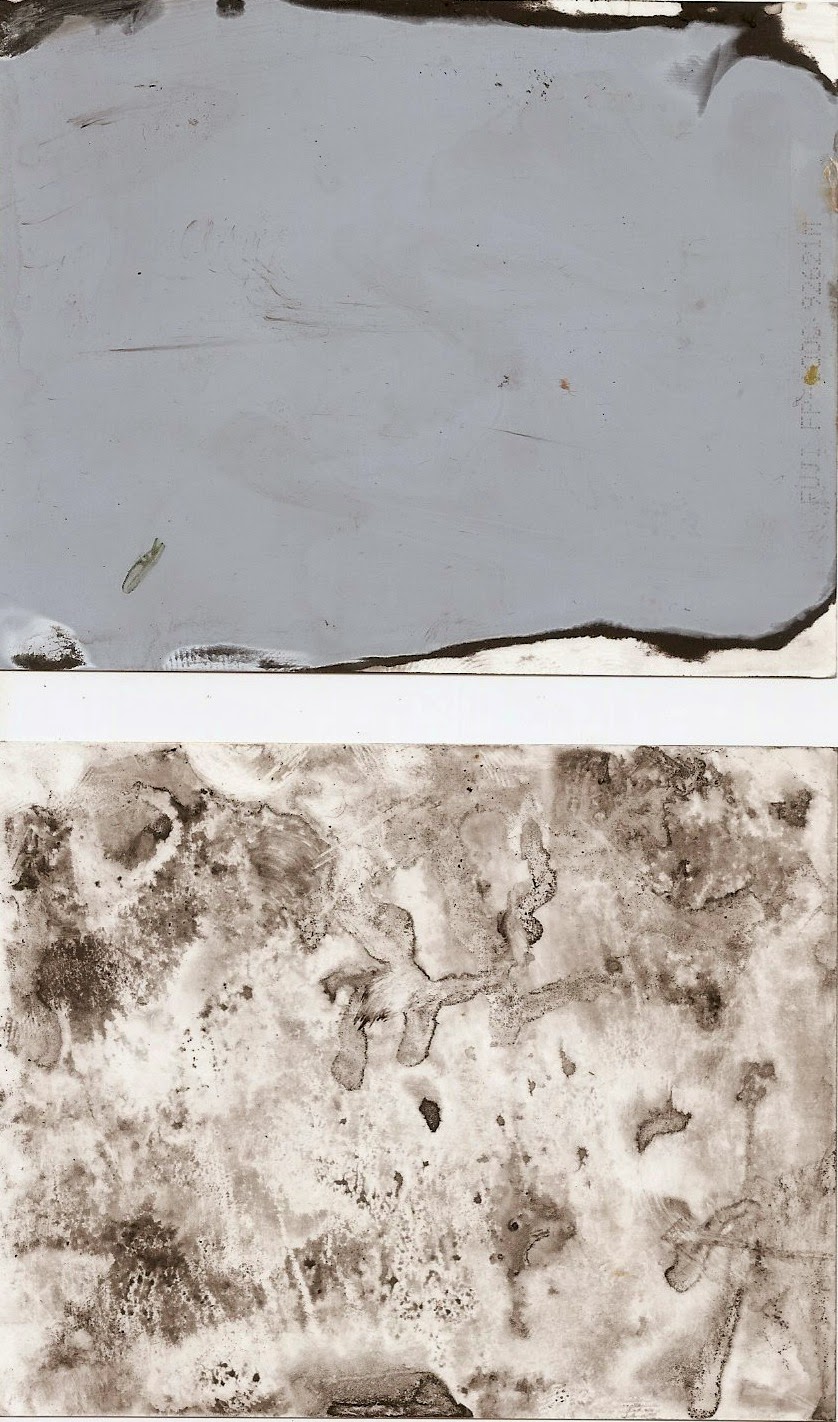
| print from portion of my first negative recovered while developing (it is a multiple exposure) |
I started saving my negatives for about a year before I tried it..so I have a few to catch up on.
My first attempts at getting a negative were one by one,taping a negative emulision side down on a piece of glass or metal. I then progressed to taping down 20 at once on a baking tray and using gel bleach .This took some time but there was little damage to the emulsion side from bleach. The back could be scratched if you rubbed to hard with the toothbrush.. Then I learned another method which was shown to me by Brian Brooks after one of the last sunday instant camera walks at Glass Key Photo in San Francisco's lower Haight neighborhood. The method he showed me was much quicker.. first you removed as much of the paper frame as possible and then you moistened the emulsion side of one of two negatives , lined them up and placed them together emulsion to emulsion so they stuck. This "sandwhich" is then dipped them is a tray of straight bleach..WOW the backing came off in sheets after less than a minute.. I adapted this method sometimes with the precaution of running thin masking tape around the edges for negatives of which I knew the subject of and did not want to risk damaging with bleach intrusion.. this is still the method I am using for already peeled negatives.
A couple of weeks ago on sunday morning I was riding home from The Alemaney FLEA MARKET)and thinking about clearing FP-100c Negatives..and bleach ruining parts of them , which is sometimes neat but none the less something I would like to be able to control (I am not shooting with a Holga after all) and I struck upon the idea of pulling the print through the rollers and clearing the negative with bleach BEFORE separating the print from the negative.
I now call it the Zo No peel method- pull,clear,peel.....simple as can be.
heres a short I made to show you how...
ZO NO Peel FP-100C negative reclaiming
PLEASE NOTE **a little more caution is needed with this method
THE FUJI FILM IS ACTIVE AND DEVELOPING for at least 3 minutes (longer in cold_) after you pull it through the rollers, breaking the developer packets and spreading the goop between the print and the negative as you pull it through.
The bleach is removing an opaque layer from the non-emulsion side of the film, this layer serves the purpose of preventing the next negative in the film pack from being exposed when the lens is open. After the negative and the paper have been joined by the rollers and are out of the camera this coating also prevents light from entering the space between the two while the developing is still active and and the emulsion still light sensitive.
This fact makes me think of two facts . Firstly if you want to be safe with this method wait at least 3 minutes after the film is pulled before you start OR do it in the dark, if you DO NOT follow this precaution
you risk letting light into your "film sandwhich darkroom" while it is still photo sensitive..which will "ruin" your photo...
The other way to look at this is you can do this with intent and solarize part or all of your print.. I have only tried this twice so far and heres what I got..

I made this happen by squirting bleach on the back directly after starting processing and then covering after about a minute,,
I tried to repeat this indoors with a processed but unexposed fp-100c as a test; bleaching the back while flashing it with a strobe flash under a 60 light bulb.. could barely see anything..so I would say indoors its safe to start the process before the exposure has terminated.. I will experiment with another unexposed sheet and bleach it while photo active in the bright sun..I wonder what it will look like?..
Here is a couple of solarized shots from the photo walk last month when I showed the zo no peel process to the photowalk participants.


OK
So you made a negative,,, what now?
well I don't have a negative scanner working yet and here in SF we are fortunate to have a couple of public darkrooms. I take my polanegs to Harvey Milk Photo Center at 50 scott street and make black and white darkroom prints. I have tried with graded paper and sometimes in larger sizes print on it if thats what I find BUT the best results seem to be on Variable contrast RC paper with a filter of 4 or greater.. contact prints are nice too..
One thing to keep in mind is that areas that are underexposed in the polaroid print will have details in the negative.. keep this in mind if you are exposing for the negative the print can be dark and have almost no information and the negative can be saved.. Of course if you are using the ZoNo peel , pull-process-peel method you will not see your print until you have made your negative, you can make a test print you peel (and process the negative later) or just start by underexposing it one half stop. heres an example of the polaroid and a print from the negative and a crop from it..

a contact print and the polaroid again

notice the border on the contact print..it doesnt go to the edge of the film , this is the type of border that results from taping two negatives together emulsion to emulsion .
On the photo below the grain and texture is good; this couple was overjoyed to have the print. I cleared the negative later with the method below however without tape just water tension holding the two negs together you can see the effects of the bleach intrusion on his shoulder this is the border without tape..
 |
| speed graphic pacemaker buhl optical 9" f 3.2 focal plane shutter This is how I clear my already separated negatives when I don't want to risk this happening , it takes a little longer but sometimes the effort is worth it. |
alright thats all for now..check back again
and leave me some comments please.
till next time
have a nice ride..Misster Pissta

ZO TO gram
Very good food for thought, I've enjoyed it . Keep shooting and bleaching.
ReplyDeleteI am getting excited to get more of this negatives myself. I kind of like the frame that guy made on Vimeo for the safe bleaching.